![Infoitech - [B]logging](https://blog.infoitech.co.uk/content/images/2021/04/youtube-small-cover-1.png)
Proxmox Cluster (Tucana Cloud) - Part III
I have recently decided to abandon the painful SSH port forwarding method of managing my infrastructure. SSH port forward is very useful but when you start to have to manage more and more systems all the hasle to port forward local ports is too much.
Before deploying my servers I had openVPN configured and working but when I have moved my servers to the datacentre I did not go through the reconfiguration of the IP addresses. After more then 6 months suffering with SSH I have decided to bring my VPN up and after seeing ip addresses instead of localhost:port I have decided to properly configure my VPN to manage my infrastructure.
However, a problem with IP ranges overlapping between my home network and my infrastructure surfaced imediately forcing me to change the ranges/vlans either in my infrastructure or home network and I have decided to change my servers because I have much less networks and it would be relatively easier.
Let's use the example of changing the proxmox VLAN that is using the veth pair veth0 & veth1 on VLAN 10 to VLAN 2.
root@hv1:~# bridge v s
port    vlan ids
vmbr0   None
veth1    10 PVID Egress Untagged

team2
         10
         20
         30

tap101i0
         10
         20
         30

tap102i0         30 PVID Egress Untagged

tap100i0         30 PVID Egress Untagged
First, add the VLAN 2 to team2 and tap101i0 that are the physical trunks between hypervisors and firewall trunk respectively.
root@hv1:~# bridge vlan add dev team2 vid 2 master
root@hv1:~# bridge vlan add dev tap101i0 vid 2 master
We now need to change the interface that proxmox is using and when changed will lock us out of the system.
Add the new VLAN to it and then delete the old one.
root@hv1:~# bridge vlan add dev veth1 vid 2 pvid untagged master
root@hv1:~# bridge vlan del vid 10 dev veth1
We will be disconected from our host at this point and the changes will now be on our firewall.
pFsense does not allow a VLAN modification for an interface that is asssigned and we need to delete the assignment.
Before deleting the assignmente make sure to take note of your firewall rules, because they will be deleted.
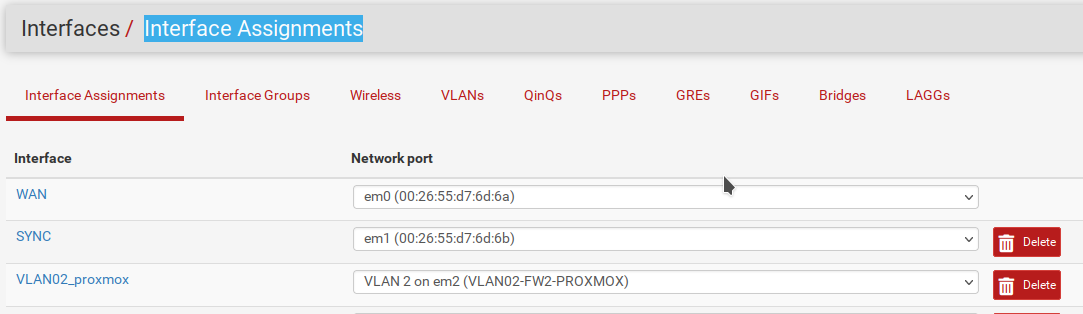
Navigate to Interface Assignments > Interfaces and delete your interface assigned to VLAN10.
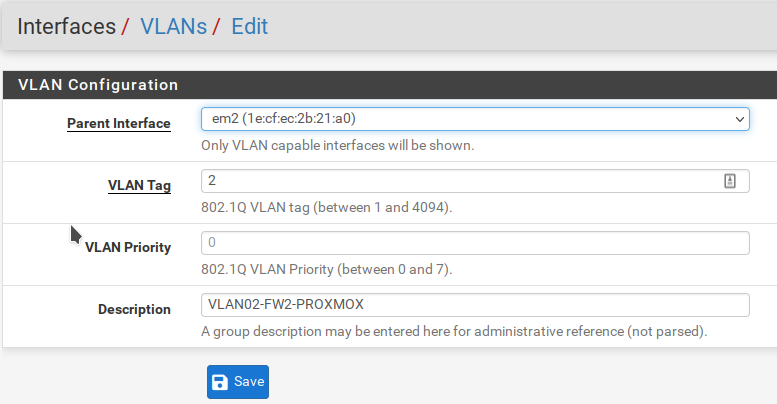
Navigate to Interfaces > VLANs and edit your VLAN10 and save the changes.
Back into Interfaces > Interface Assignments we will assign the VLAN2 interface to our trunk em2.
Because The IP address is not being changed, CARP IP, NAT Outbound and NAT forwardings do not need to be changed. However, we need to set up DHCP and firewall rules.
We can now do the same steps above in the second hypervisor to complete the changes.